
Flutini Tutorial
Flutini
Tutorial
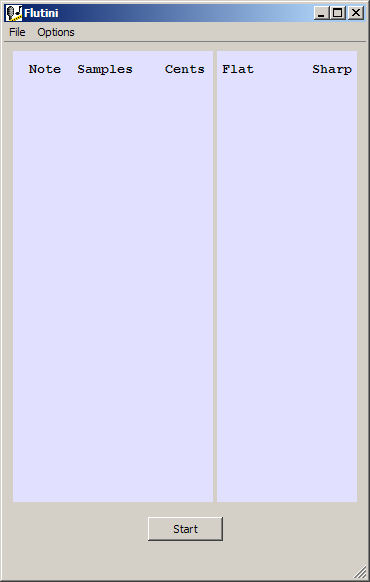
To use Flutini with live music, you'll need a working microphone. Attach a microphone to the microphone port on your computer and then use Window's Volume Control tool to make sure the microphone is not muted and has the volume turned up. Once your microphone is working, simply click on the Start button and Flutini will begin detecting your playing and displaying notes and tuning:
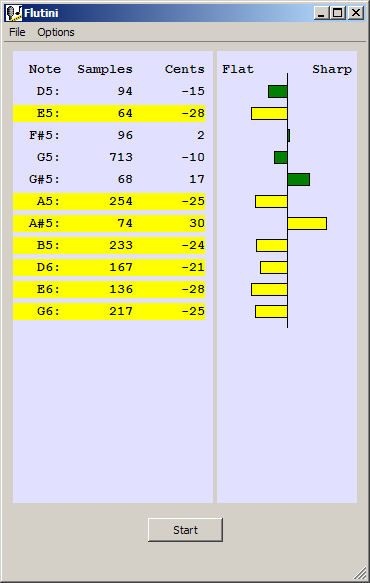
On the left side of this display Flutini shows each note that it has detected (e.g., "D5") , how many times it has detected that particular note (e.g., 94) and what the average tuning was for those notes (e.g., -15 cents). The right side of the display gives this same information graphically. Flutini indicates notes that are signficantly out-of-tune with yellow and ones that are badly out of tune with red.
When you've finished, click the button (which now says "Stop") to stop.Flutini provides some additional functions under the File menu:
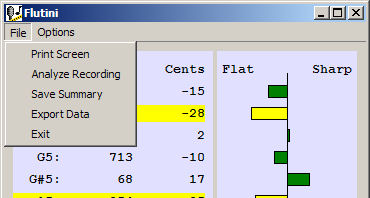
The "Print Screen" option prints the Flutini window. If you've set the appropriate option in Preferences, before Flutini prints the screen it will give you an opportunity to add an annotation (text) to the printout. This is useful if you want to note on the print out which instrument you were tuning, or what recording was analyzed, etc.
The "Analyze Recording" option runs a tuning analysis on a sound file in WAV format. Flutini will prompt you for the name of the file to analyze and then will perform the usual tuning analysis as if the sound file had been played into the microphone.
This option creates a text file containing the tuning analysis shown in Flutini's window. This is useful for keeping a record of a tuning on your computer, for sending through email, etc. As with "Print Screen," if you'veset the appropriate option in Preferences, Flutini will give you an opportunity to add an annotation (text) to the summary. The file looks like this:
| Flutini
1.0 Total samples: 2442 Note Samples Delta in Cents G3 41 -14 B4 26 -18 C5 10 -19 C#5 7 46 D5 94 -15 D#5 12 11 ... ... ... |
Note that the "Save Summary" file will also contain information on notes that don't appear in the Flutini window because they are below the samples cutoff. (See Preferences.)
| Time(secs)
Pitch(semi-tones) Volume(rms)
Clarity 3.00118 79.0973 -44.3894 0.790979 3.00698 78.9829 -45.9843 0.881302 3.01279 78.9287 -49.0186 0.931512 3.01859 78.9232 -50.7134 0.915171 3.0244 78.9026 -51.6443 0.883892 ... |
Exits Flutini. You can also clink on the "X" button on the top right of the window bar.
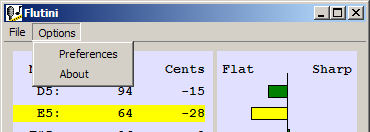
You can set Flutini options and access this help under the Preferences menu:
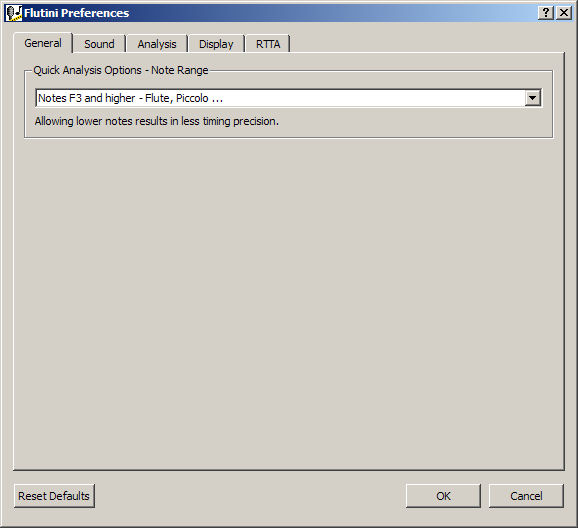
The general tab allows you to set the note range for analysis. The default setting for note range ("Notes F3 and higher...") should be fine for almost any use, but you can experiment with other settings.
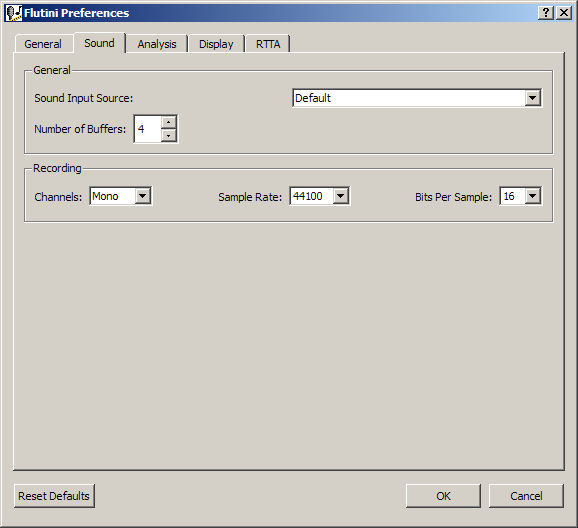
The Sound tab provides options for setting the sound input, the number of buffers and the recording (sound input) parameters. The default settings should work for most users, but if you have problems detecting sound you may need to change the "Sound Input Source."
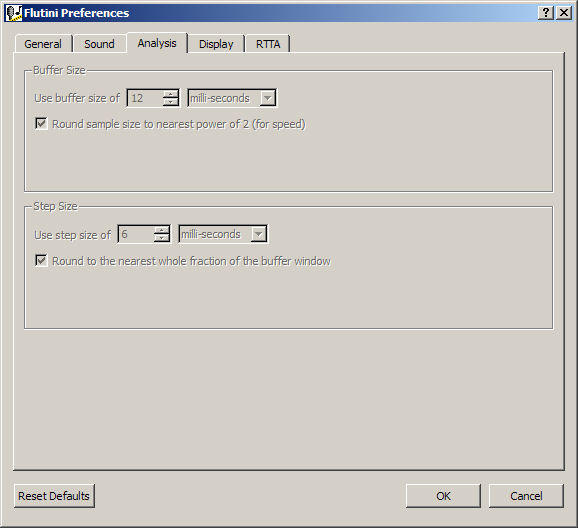
The Analysis tab is only active if you choose "Custom" for the Note Range on the General tab. This tab can then be used to set the buffer size and step size used in the Fast Fourier Transform and other sound processing algorithms that are used to detect and classify notes.
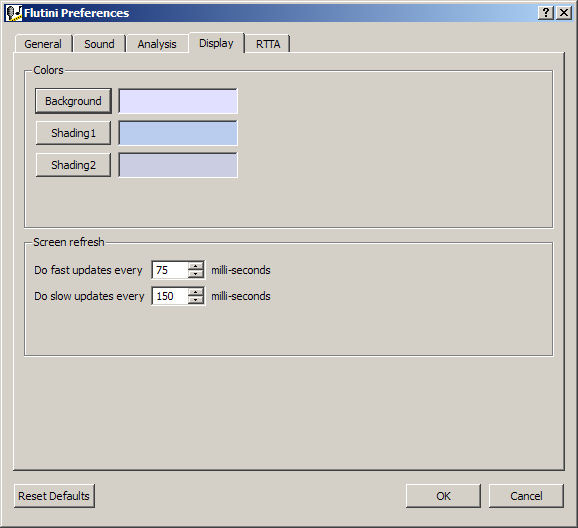
This tab allows you to pick the background colors of the Flutini displays as well as how often the displays are updated. If you have an older, very slow machine, you may need to set Flutini to refresh more slowly.
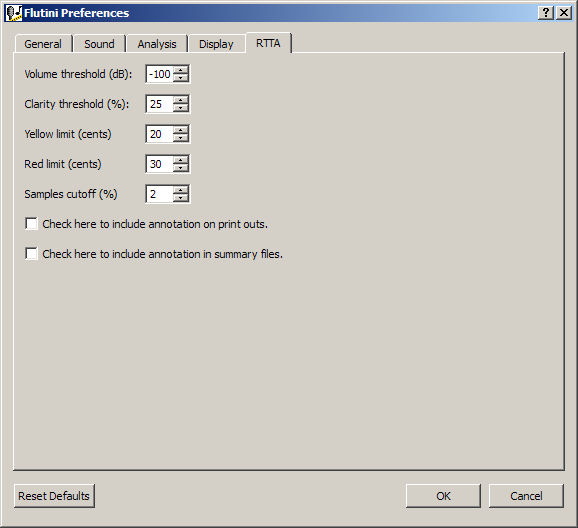
The RTTA (Real-Time Tuning Analysis) tab lets you set a number of parameters that control the Flutini displays.
The Volume Threshold is used to make Flutini ignore computer noise and other quiet, non-music sounds. If you start Flutini and it starts detecting "notes" from noise before you start playing, trying raising this number a few decibels at a time until the noise is ignored.
Flutini measures the Clarity of a note on a scale of 0-100%. Notes that are lower on this scale are muffled, weak or for some other reason might not be correctly classified. Flutini ignores notes whose clarity is below this setting.
The Yellow Limit and Red Limit define when Flutini colors a note yellow or red in the display.
The Samples Cutoff causes Flutini to not display notes that have very few samples, e.g., if Flutini has detected a note only a few times (say, 3 times out of a total of 2000 samples) then the note will not be displayed. Notes with very few samples were likely mis-detected or just random passing tones.
The Annotation Checkboxes control whether Flutini asks you to enter a text annotation for print-outs or summary files.